The part comes out and something’s wrong: a dimple, a twist, an unfilled cavity. Here’s a working guide to the defects you’ll actually see, what causes each, and how to correct it.
Every molder knows the feeling: the part comes out, and something is wrong. A dimple where the surface should be smooth. A part that will not sit flat. A cavity that did not fill. Injection molding defects are the daily reality of the process, and the difference between a shop that fixes them fast and one that chases them for days comes down to understanding root causes. This is a working troubleshooting guide to the most common defects, what causes each one, and how to correct it, aimed at people who need parts right, not a theory lecture.
Most defects do not come from one thing. They come from a combination of material, process, mold, and part design. The fastest way to solve them is to isolate variables in order: material first (drying, contamination), then process (fill, pack, cool), then mold and design.[1][2] Change one thing at a time and watch what moves.
The defects you will actually see
Across real production, a handful of defects account for most rejects. Industry analysis of high-volume molding reports that sink marks and warpage together lead visual rejects at around 60 percent, with flash near 20 percent.[2] Here is how to recognize and fix the common ones.
Sink marks
Shallow depressions over ribs, bosses, or thick sections. They happen when thick areas cool and shrink more than the walls around them, pulling the surface inward.[2] Fixes: increase holding (packing) pressure and time so the cavity stays full as it cools; lower melt and mold temperature slightly; and, longer term, design toward uniform wall thickness, since non-uniform walls are the single most common root cause of sink and several other defects.[3]
Warping
The part bends or twists out of tolerance. Warpage comes from uneven cooling, non-uniform wall thickness, asymmetric cooling, or residual stress from overpacking.[2] Fixes: balance cooling across the part, keep walls uniform, avoid overpacking, and allow adequate cooling time before ejection so the part sets in its intended shape.
Short shots
The cavity does not fill completely, leaving a missing section. Causes include too little material, insufficient injection pressure or speed, low melt temperature, or poor venting that traps air and blocks fill. Fixes: raise injection pressure or speed, confirm shot size and melt temperature, and check that vents are open so trapped air can escape.
Flash
Thin excess material squeezing out along the parting line. It means the mold is being pushed open during fill. Causes include injection pressure exceeding clamp force, worn or misaligned tooling, or a melt that is too hot or thin.[3] Fixes: confirm clamp tonnage is adequate for the projected area, reduce injection pressure to the minimum needed to fill, and inspect and repair worn parting-line surfaces. Flash gets its own detailed treatment in a companion article.
Splay (silver streaks)
Silvery or translucent streaks radiating from the gate. The usual cause is moisture in the resin flashing to steam during injection, though excessive injection speed and contamination also contribute.[3][4] The primary fix is drying the resin properly before molding; secondary fixes include reducing injection speed and back-checking for contamination.
Where visual rejects concentrate
Approximate share of visual rejects by defect, from published high-volume molding analysis. Your mix depends on your parts, materials, and tooling.

Share of visual rejects reported from high-volume molding operations.[2] Directional; every shop’s distribution differs.
A troubleshooting method that works
When a defect appears, resist the urge to change five settings at once. Work the variables in order:
| Step | Check |
|---|---|
| 1. Material | Is the resin properly dried? Any contamination or wrong lot? |
| 2. Process | Fill, pack, and cool window; injection speed and pressure; melt and mold temperature; V/P transfer |
| 3. Mold | Venting, gate condition, parting-line wear, cooling balance |
| 4. Design | Wall-thickness uniformity, rib and boss proportions, gate location |
Published troubleshooting guidance is blunt about when to stop: if a defect will not move with controlled process changes, stop tuning the press and review the tooling or part design, because some defects are built in, not dialed in.[5] Chasing a design problem with process settings wastes shifts.
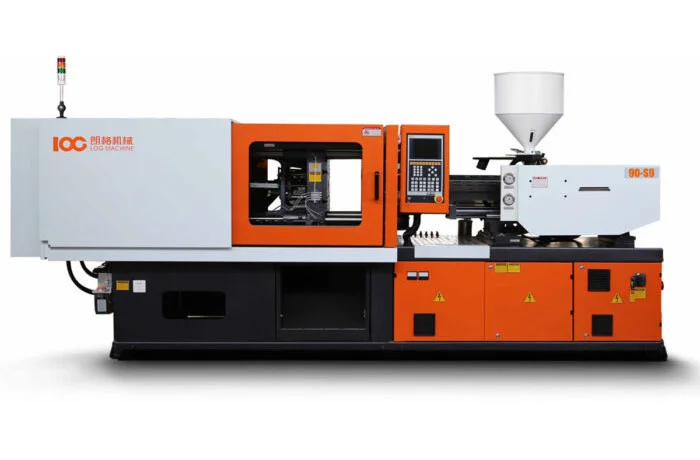
Recognize the defect, isolate the variable, change one thing at a time, and know when the problem is process versus mold versus design. A stable, well-controlled machine makes this far easier, because it holds the process window you set. That is exactly what a precision servo press is built to do.
Frequently asked questions
What is the most common injection molding defect?
Sink marks and warpage are the most frequently reported, together making up around 60% of visual rejects in high-volume analysis, with flash next at about 20%. The most common underlying root cause across many defects is non-uniform wall thickness in the part design.
Can defects be fixed after the part is molded?
Mostly no. Flash can sometimes be trimmed, but sink marks, warpage, weld lines, splay, and voids are essentially permanent. The cost-effective fix is to find the root cause and correct it at the press, the tool, or in the design, not to rework molded parts.
How do I know if it’s a process problem or a mold problem?
Make controlled process changes and watch the defect. If it responds and you can dial it out within a stable window, it was process. If it will not move no matter what you adjust, stop tuning and review the tooling and part design, it is built in, not a setting.
Struggling with a defect you can’t dial out?
LOG’s application engineers provide processing assistance, mold tests, help with difficult resins, and machine optimization, to get your parts back in spec.